Topographic Maps: How to Read a Map With No Roads
So you want to go backpacking but you’re afraid of getting lost. Google Maps worked fine to get you to the trailhead, but now that you’re face to face with the wilderness, how do you use a map with no roads?
One of my favorite parts of any new adventure is going over topographical maps in the planning phase. There is something both calming and exciting about looking over a whole area and letting geography dictate my route.
I’m not going to lie though, most of the time in the field I do use my GPS. It’s useful and convenient, but this doesn’t have to be a one or the other type of thing. Maps and electronics should be used together.
Treat your smartphone/GPS as another tool in your tool kit. Not a crutch. A physical map is a lightweight, necessary companion piece that won’t break or run out of batteries.
But looking at a topo map for the first time can be intimidating, so you are going to want to learn how to read one before you have to learn to read one.
Let’s talk about topo map literacy.
Contour Lines:
The most useful information on a topo map are the contour lines. They help visualize a two-denominational piece of paper into a three-dimensional mental image to give you an understanding of what kind of terrain you’ll be dealing with.
A single contour line will show a particular elevation across the entire area. Depending on the scale of the map, they will usually be in 40 to 100-foot intervals.
Vertical elevation gain between lines is constant on a given map, so when the lines are closer together, there is a steep climb. Where the lines are far apart, the slope smooths out.
After looking over your map for a while, you’ll notice certain patterns start to emerge which will help you visualize the terrain. Once you are able to pick out these patterns at a glance, you’ll be able to plan your route more quickly.
1. Peak Ring:
The innermost ring in a series of contour lines denotes the highest elevation in the area and the peak of that particular hill/mountain.
2. Cliff:
If you see a spot where the contour lines squeeze in and blur together, you are looking at a cliff. This area will be impassable unless you have climbing equipment and are well trained in how to use it. Use caution though, some small cliffs might not appear on a map if the drop off is less than 40 feet, as the overall terrain does not change enough to warrant a contour line.
3. Valley:
Between two peaks, you’ll find U or V-shaped contour lines forming a valley. This is usually your best shot for finding a water source as all water accumulating on the slopes will gather here to form streams flowing downhill.
4. Ridgeline
Instead of individual mountains, a ridgeline is a series of peaks connected in a mountain range. Unlike the tight circles of peaks, these will look like elongated, thin ovals.
5. Saddle:
A saddle is a relatively flat low-lying area between two high elevation points. They sometimes form in hourglass shapes and can help you find the easiest route through hilly areas.
6. Ledge:
Ledges are flat areas found on mountain slopes. They take the form of U shaped contour lines, pointing away from a peak, and are often a good spot to look for a decent level campsite.
7. Depression ring:
Occasionally, although rare, a circle will mean a depression ring instead of a peak. These mark a drop in elevation in a small localized area. They are quickly distinguishable from peaks by tick marks on the contour line pointing inward.
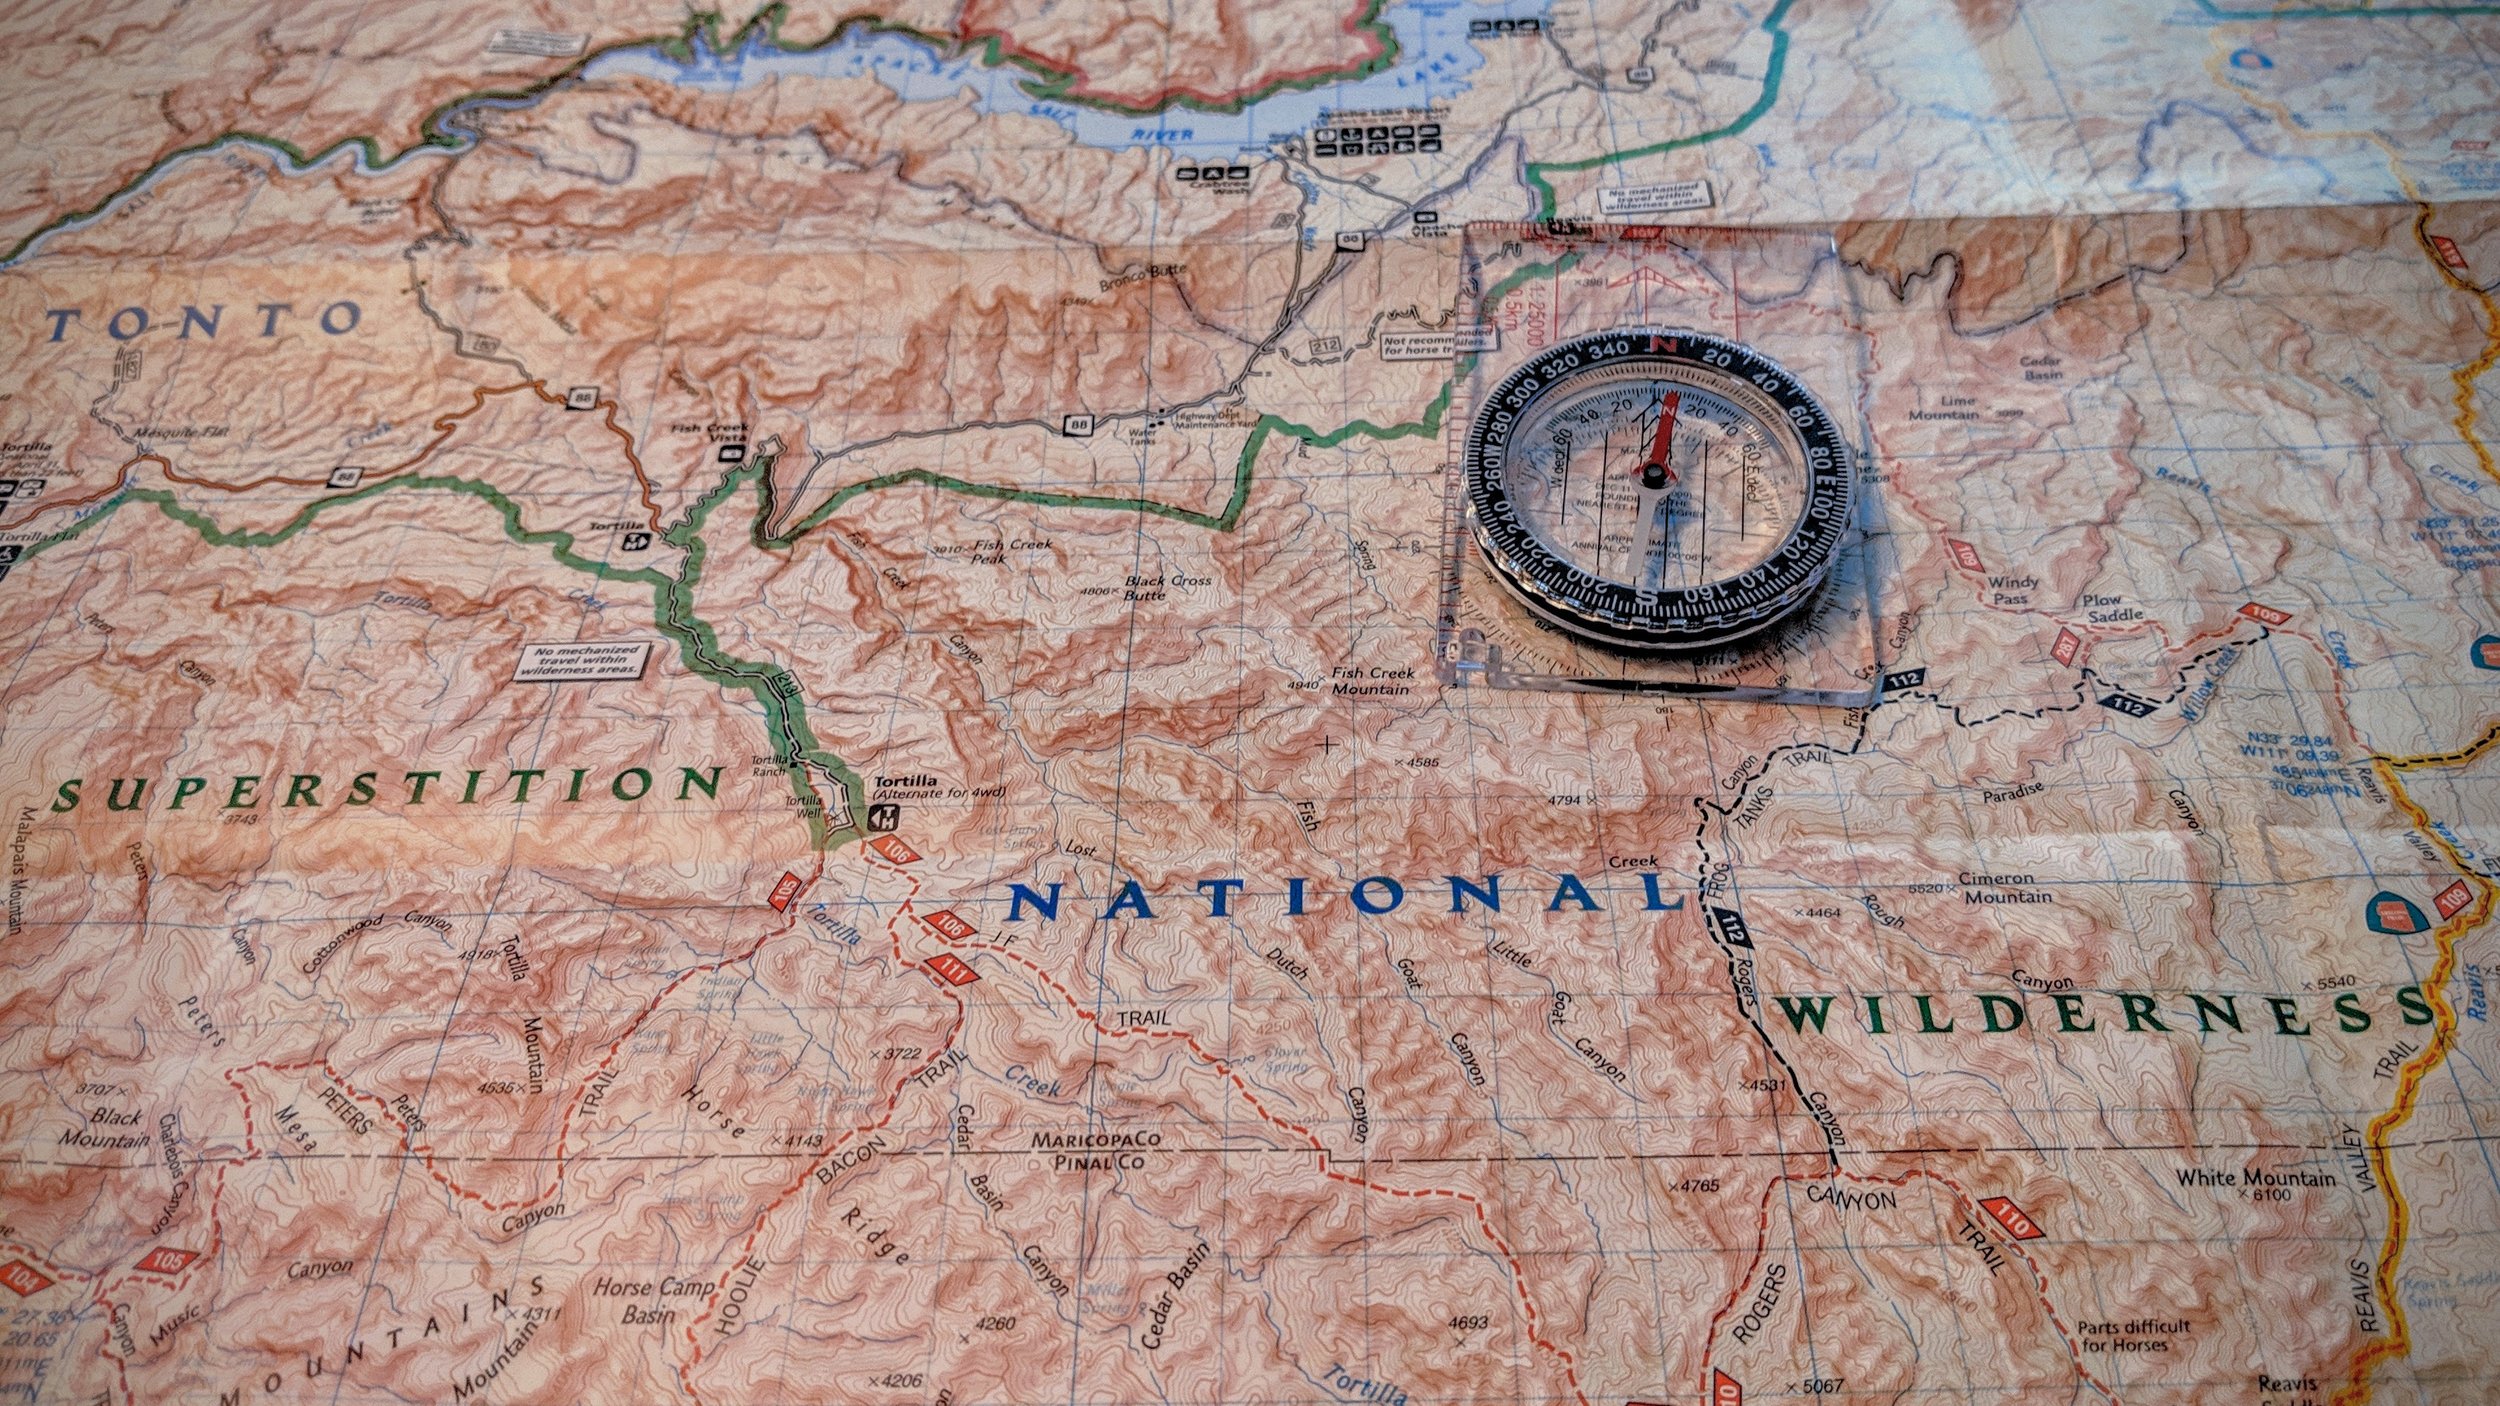
Scale:
The next important thing you need to look at is scale. Usually at the bottom of the map, the scale lets you know how much distance is being depicted per inch or centimeter on the map.
For example, a 1:12,000 scale map means 1 inch on the map equals 12,000 inches in reality. To make things simpler though, there will also be a scale to show you how long a mile or kilometer is on this particular map.
This scale will be in a straight line, however, use a string instead of a straight edge to gauge distance, as topography rarely follows a straight line
Keep in mind, the larger the area a map covers, the less detail there will be. A more zoomed-in map will give you more detail, but less of an idea of the overall area. And there is always a 1:1 scale map all around you. Don’t forget to look up once in a while.
Legend:
The legend has a dense amount of useful information, including what all the symbols mean on the map as well as the magnetic declination to help orientate your compass, giving you the difference between true north and magnetic north for this area. (More on how to use a compass in another article coming soon).
The importance of map literacy
Even if you have a compass to tell you which way you are facing, or a GPS to tell you your exact coordinates, none of that is going to be useful for exploring the wilderness without knowing how to read a map.
Abraham Lincoln, a man who loved to speak in analogies and stories, once made a great point about the limitations of a compass and the importance of knowing the terrain (or at least Daniel Day Lewis’s portrayal of him did). So I will leave the final point to him:
“A compass will point you true north from where your standing, but it’s got no advice about the swamps, deserts and chasms that you’ll encounter along the way. If in pursuit of your destination, you plunge ahead heedless of obstacles, and achieve nothing more than to sink in a swamp, what’s the use of knowing true north?”